- Login to the Customer Portal.
- Click on Services and go to My Services.

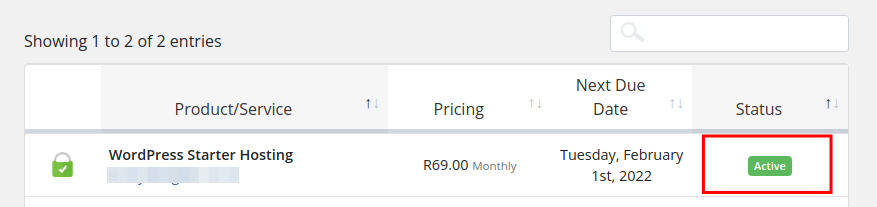
- If you registered a domain and purchased a hosting package with us, you should see it here with a Status of Active.
- Click on Active.
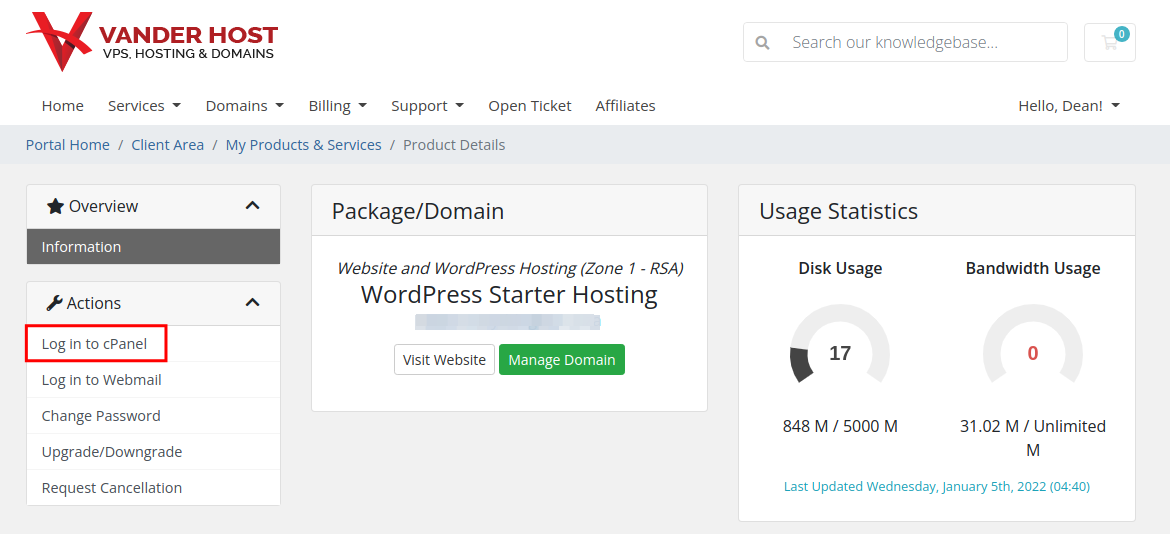
- Click on Login to cPanel.
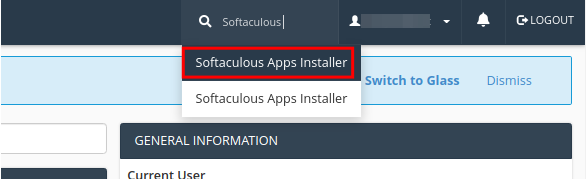
- Search Softaculous in the top-right search field or scroll down and click on Softaculous Apps Installer.
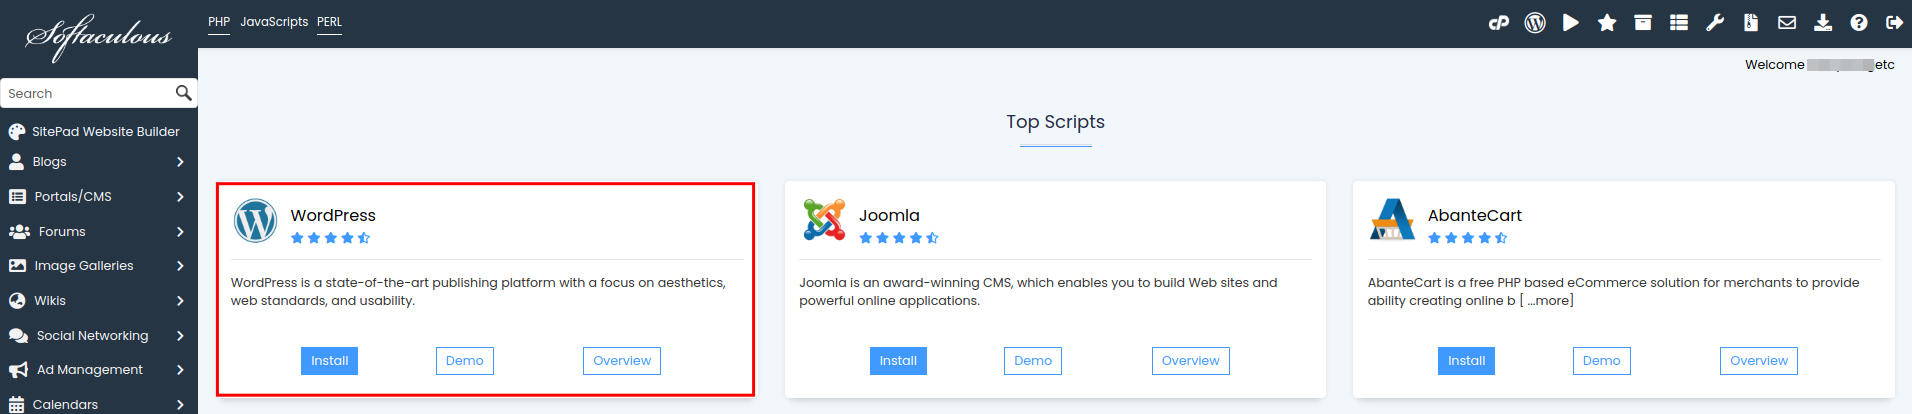
- On Softaculous the Top Scripts should already have WordPress listed on top. Otherwise, you can search for WordPress.
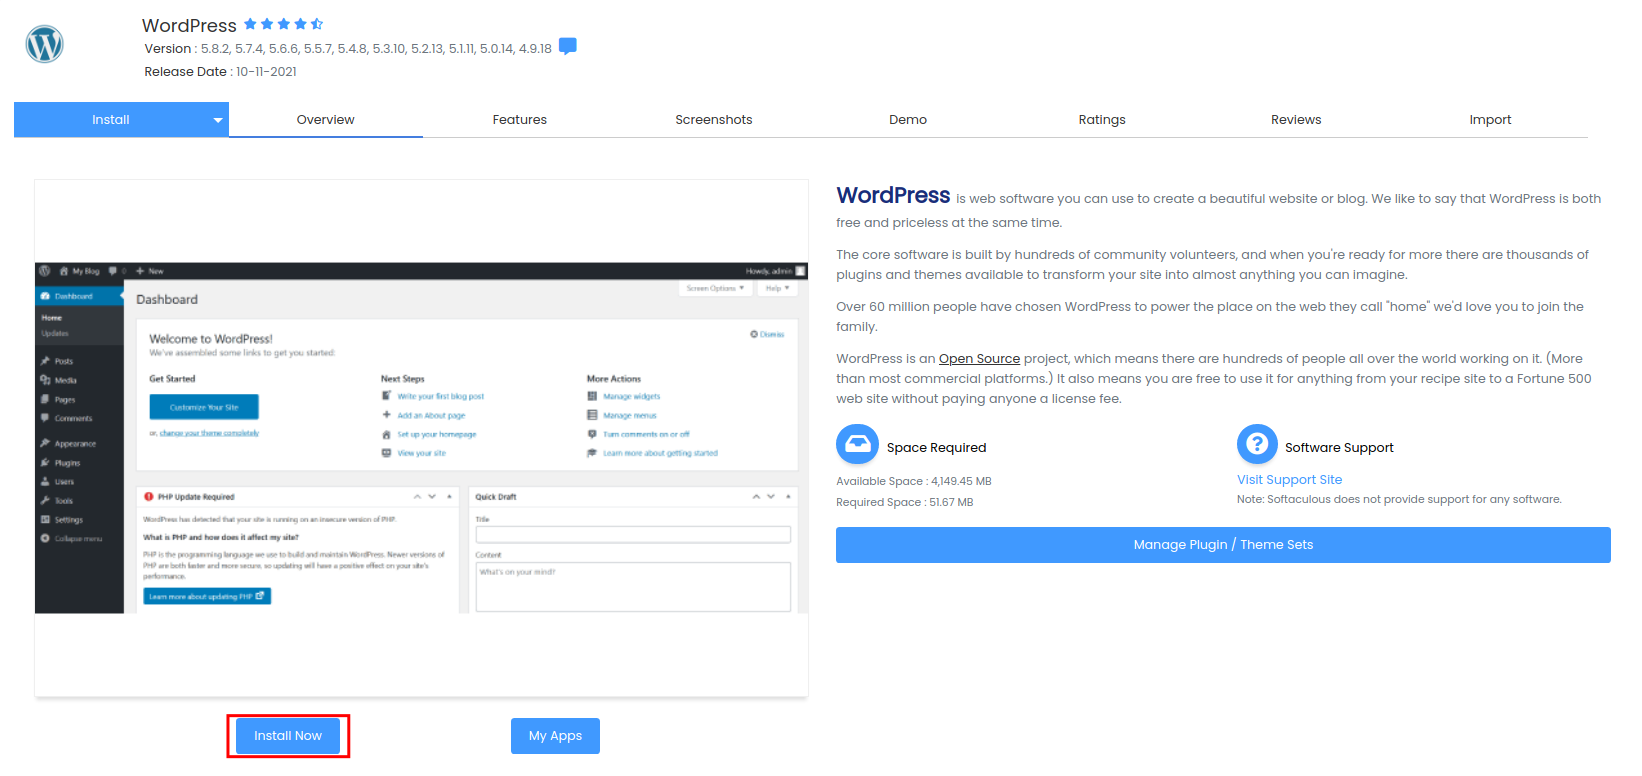
- Click on WordPress.
- Click on Install Now.
- Fill in the Fields
- Software Setup
- Make sure you choose https:// as the protocol as we will provide you with a free SSL certificate.
- Select the domain that you want to set WordPress up for.
- Select the directory in which you want to set up WordPress. If you want WordPress to be set up in the root directory of your hosting package then leave this field empty. If you are unsure, the correct answer is usually to leave the field empty.
- Select the version of WordPress that you want to install. It is always best practice to select the latest version of WordPress.

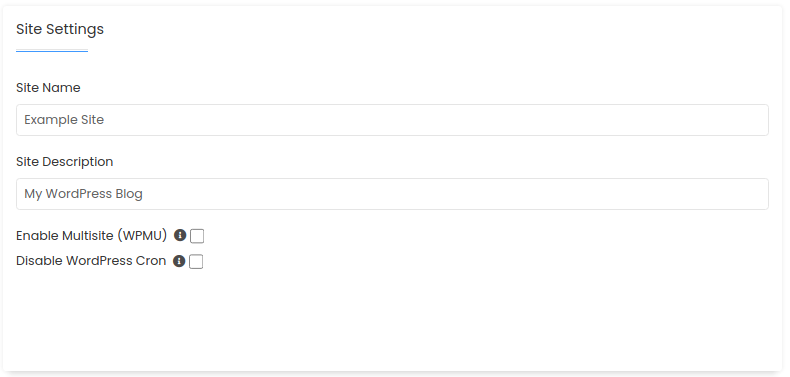
- Site Settings
- Specify the name of your site in the Site Name field.
- Specify the description of your site in the Site Description field.
- Leave Enable Multisite (WPMU) and Disable WordPress Cron unchecked.
- Admin Account
- Specify your Admin Username.
- Specify your Admin Password and make sure that it is a strong password. To be safe, you can click on the Key icon to generate a strong random password.
- Specify your Admin Email address.

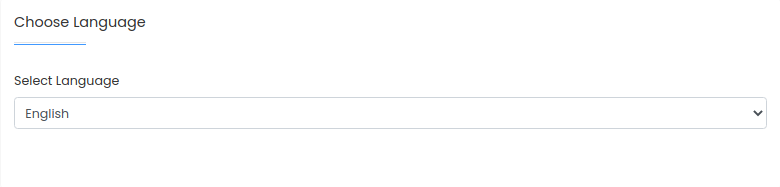
- Choose Language (optional)
- Select the language you wish to set up your site in. This is usually in English
- Select the language you wish to set up your site in. This is usually in English
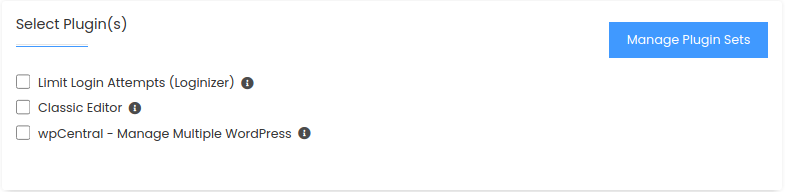
- Select Plugin(s) (optional)
- These plugins are optional. Loginizer is good for security and the Classic Editor is good if you do not like WordPress’s default editor.
- These plugins are optional. Loginizer is good for security and the Classic Editor is good if you do not like WordPress’s default editor.
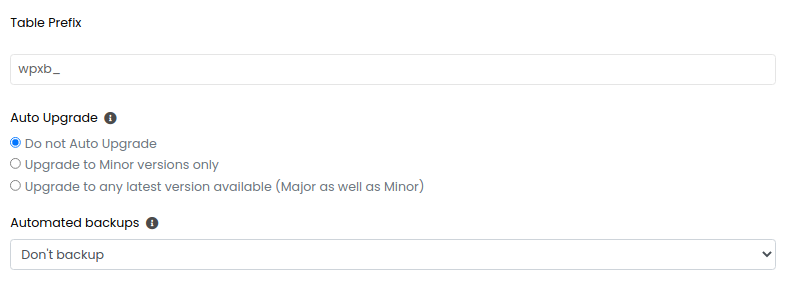
- Advanced Options (optional)
- The Database Name and Table Prefix settings are mostly optional to change and won’t make a difference.
- Disable Update Notifications Emails should be left unticked as it is always good to receive notifications on updates.
- Auto Upgrade WordPress Plugins is up to you to decide as updates can decrease security vulnerabilities but could also cause issues with your website if the plugin developers are not good.
- Auto Upgrade WordPress Themes same as above, up to you to decide.
- Backups (only use this if you have no other backup solutions, like a WordPress plugin which is recommended)
- With the Backup Location, you can specify where you want your backups to be stored.
- With the Automated backups field you specify how frequent you want your backups to happen (daily, weekly, monthly or custom).
- With the Backup Rotation field, you can specify the maximum amount of backups to be stored before older backups are deleted.

- Select Theme
- If you don’t already have a theme you can select one from here. It is important to do your research first to find out which theme will work best for you.
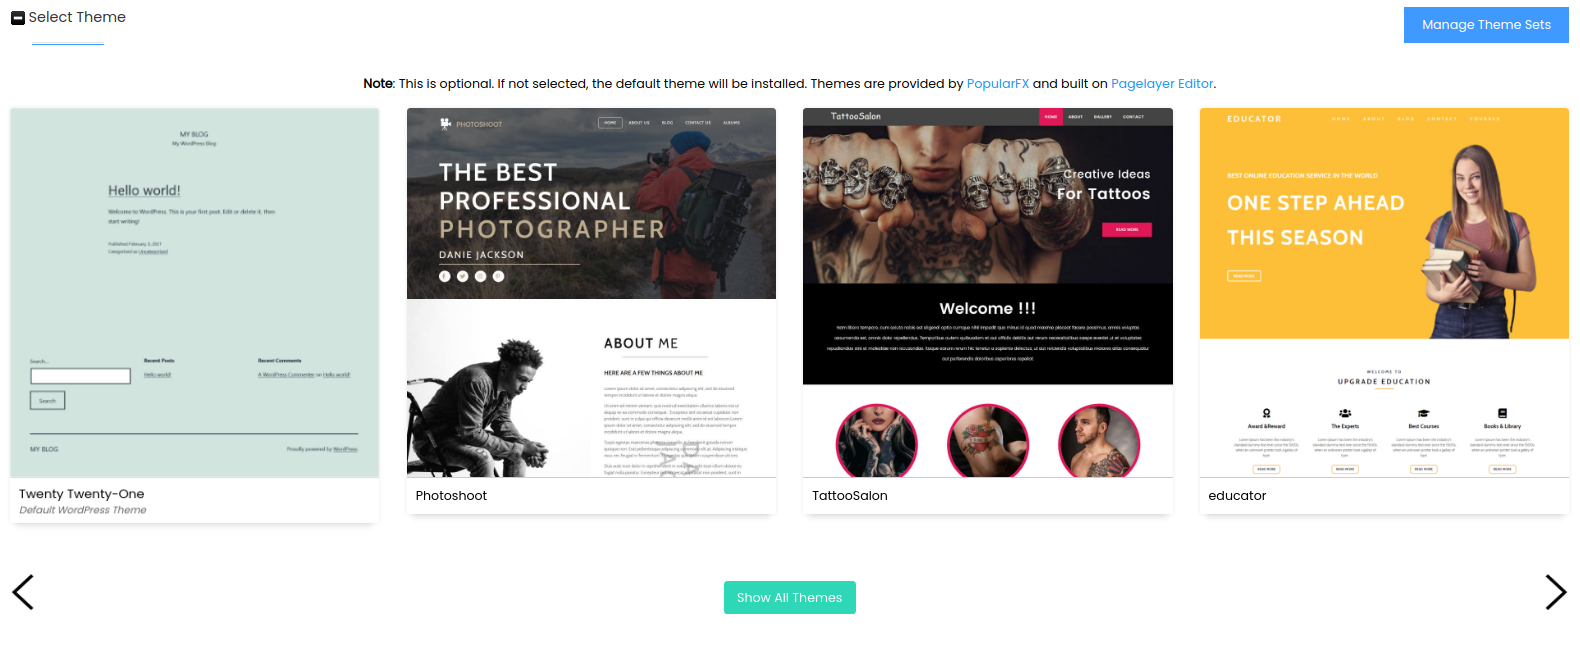
- If you don’t already have a theme you can select one from here. It is important to do your research first to find out which theme will work best for you.
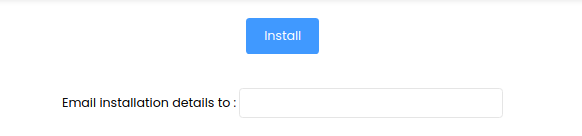
- Specify the email address you which to receive updates about the installation in the Email installation details to field.
- Click the Install button to start your WordPress installation.
- Software Setup
- Once the installation is complete you should receive an email as well as an onscreen prompt that the installation was successful with a link to log in to your WordPress site.
- Home
-
Store
- Browse All
- Website & Email Hosting
- Reseller Website & Email Hosting
- VPS Server Hosting
- VPS Server Hosting Europe Germany
- VPS Server Hosting USA and Asia
- Windows VPS Hosting
- Virtualmin Unlimited Domains Server
- Colocation Hosting
- Nextcloud Hosting
- Online Backup Solutions
- Register a New Domain
- Transfer Domains to Us
- Announcements
- Help Centre
- Network Status
- Affiliates
- Contact Us
-
More
